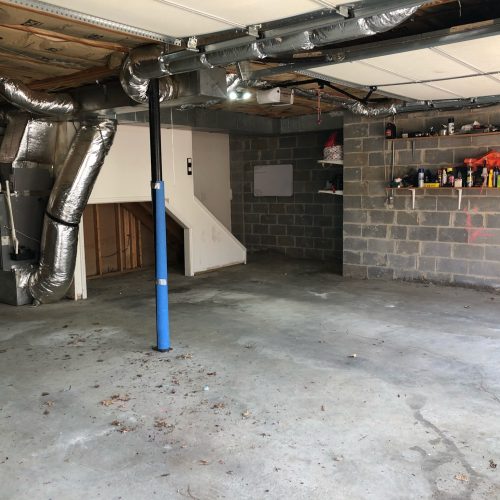
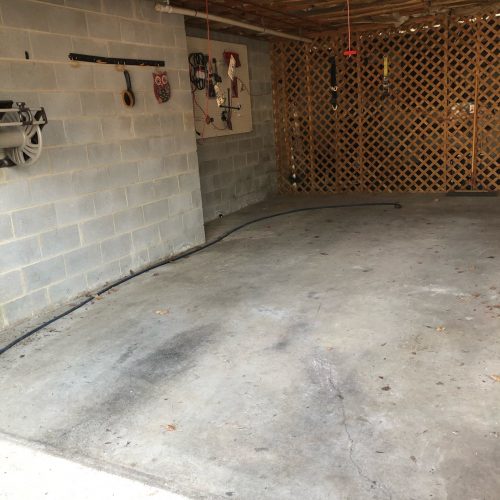
PROFESSIONAL INSTALLATION of garage floor
When you hire us to do your garage floor coating, you will be able to use the room after a couple of days; We finish the Epoxy coatings to the floor. With our ability to offer the best quality in the fastest time possible.
Our team is comprised of highly trained personnel that are also highly experienced in this field. It enables us to operate within high standards and with a discipline that will allow you to get to use the floor as soon as possible. SSP Coatings’ professional team tries as much as possible to stay on track and get the time accomplished as in the set schedule.
You will not have to worry about the work being completed late. That is why we are highly recommended if you are trying to meet a deadline for an upcoming family event or a similar occasion.


Garage Floor Coating Process
Grind Concrete Surface
STEP 1
Garage Floor Surface Preparation is one of the most important processes as it will ensure that whatever is going to be installed will stick. SSP Coatings Garage Flooring Company is equipped with a walk-behind diamond floor grinders that are the best for floor grinding and will create an industry-standard CSP3 (Concrete Surface Profile). This process helps remove stains and materials that were initially there and create a concrete floor that is both clean and porous. This will enable the coatings we apply to penetrate deep into the substrate and create a strong, tenacious mechanical bond. Before moving to the next step, we examine the floor, do repairs on any cracks, and ensure its integrity is at its best.


Crack Repair
STEP 1
There are two types of cracks – moving and non-moving. Moving cracks are generally more than 1mm wide, penetrate the full depth of the concrete, and come from excessive stress in the concrete. Moving cracks often have chipped edges from freeze-thaw and edge impacts. Non-moving cracks can be from hairline to over 1mm wide, don’t usually penetrate the full depth of the concrete, and come from shrinkage during the concrete curing process. There are some non-moving cracks from concrete drying shrinkage that tend to be 1mm or wider, and penetrate deeper into the concrete up to the full depth.
Primer & Base Coat Application
STEP 2
For this step, we used the most advanced and unmatched materials that will be highly effective for the task. Our industrial-grade coating systems are low VOC and LEED compliant. Thus, there is no need to worry. We have a unique set of materials that will be best for home garages and you are guaranteed of it being long-lasting. After a series of mixtures, the product is laid on the concrete and spread evenly to force the epoxy into the floor's pores. Large rollers will be used to give the product that final finishing that will spread it out uniformly.


Flake Distribution
STEP 3
We use the personnel's hands to spread the decorative flakes onto the wet epoxy, and they will bond through a chemical reaction. We have a formula for the amount of the flakes to be applied to a specific size of the floor, so you should not worry about too much, or too little is applied. This step ensures that the work done is durable and least prone to damage. You also get to choose from a variety of options at this point in the process.
Protective Clear Coat Application
STEP 4
As we seal the flakes into position in a manner that will ensure that the effect is highly durable, and mainly least affected with any chemicals and also one that is easily cleaned. We remove the flakes that were applied in excess or even those that are just loose on the surface. The last layer of texture that we apply will guarantee a safe experience as it is rough enough to avoid slipping unnecessarily when the floor is slightly wet.


Return-To-Service & Cleaning
STEP 5
Our work will be completed in a matter of two days, and you will be able to use the floor as you usually. You should not worry about damaging the floor by starting to use it too soon. In three days, any vehicle will be able to use the garage without damaging any of the components used in the process of redesigning the whole garage. Your garage floor will have that attractive, and it would be a great complement to your beautiful home, surely an envy of anyone who sees it. Occasional cleaning of debris and dirt using a blower or even a Ph-neutral cleanser will spark clean. This will also help to make it durable over the years in use.
How to Clean My Epoxy Floor